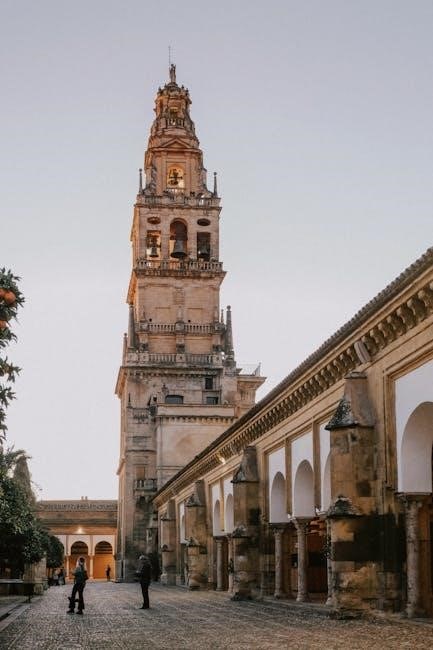
Overview of MSC Virtuosa Deck Plans
MSC Virtuosa features 14 decks, offering 2,421 cabins for 6,334 guests. The deck plans highlight key amenities like Galleria Virtuosa, Jean-Philippe Crêpes & Gelato, and MSC Excursions.
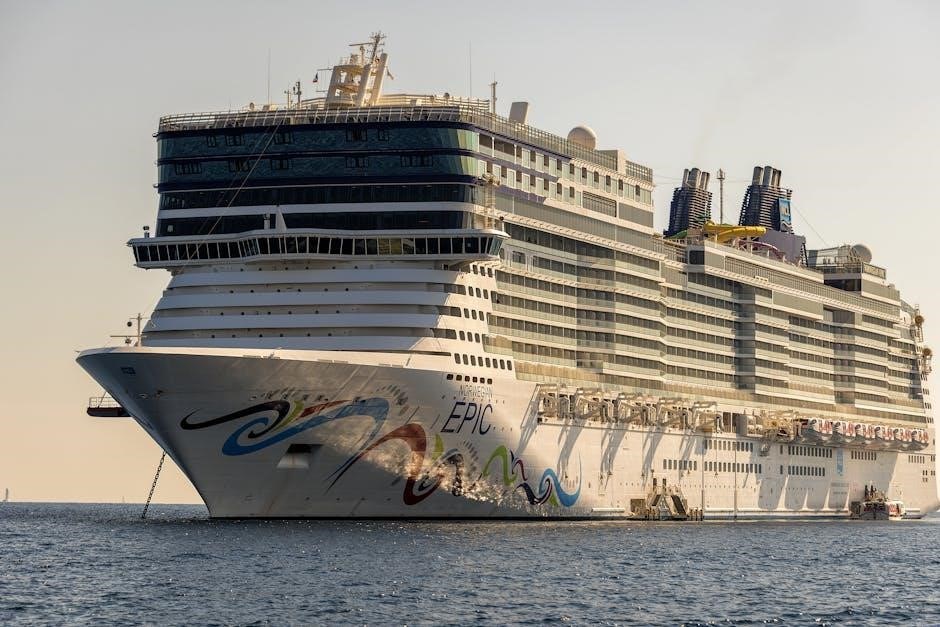
MSC Virtuosa is a state-of-the-art cruise ship designed to offer unparalleled comfort and entertainment. With 14 decks and a capacity for 6,334 guests, it features modern amenities and innovative designs. The ship boasts a variety of dining options, entertainment venues, and recreational activities, making it a premier choice for travelers. From luxurious suites to family-friendly cabins, MSC Virtuosa caters to all types of cruisers. Its deck plans provide a detailed layout of cabins, restaurants, theaters, and wellness centers, ensuring passengers can navigate the ship effortlessly. Whether you’re seeking relaxation or adventure, MSC Virtuosa promises an unforgettable journey with its blend of elegance and fun.
1.2 Importance of Deck Plans for Cruisers
Deck plans are essential for cruisers to navigate the ship effortlessly and make the most of their voyage. They provide a clear layout of cabins, restaurants, entertainment venues, and recreational areas, helping passengers plan their activities and explore the ship. By understanding the deck configuration, travelers can locate their cabin, find dining options, and identify key amenities like pools, spas, and theaters. This knowledge enhances the cruising experience, saves time, and reduces stress. For MSC Virtuosa, deck plans are particularly useful due to its extensive facilities and multiple decks, ensuring cruisers can fully enjoy the ship’s offerings and create unforgettable memories.
Detailed Deck-by-Deck Layout
MSC Virtuosa’s deck plans reveal a meticulously designed ship with 14 decks, showcasing cabins, dining venues, entertainment zones, and wellness facilities, ensuring a seamless cruise experience.
2.1 Deck 5: Cabins and Amenities
Deck 5 of MSC Virtuosa is primarily dedicated to cabin accommodations, offering a variety of categories including Inside, Oceanview, and Balcony staterooms. The deck also features essential amenities such as convenient access to elevators, stairways, and nearby public areas. Guests can enjoy proximity to entertainment venues and dining options located on adjacent decks. The layout ensures a quiet and comfortable environment, perfect for relaxation after exploring the ship. With its strategic positioning, Deck 5 provides easy access to key onboard facilities, making it an ideal choice for cruisers seeking both comfort and convenience during their voyage.
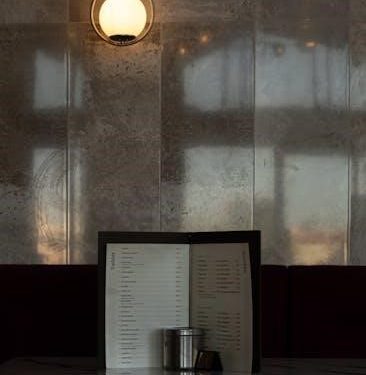
2.2 Deck 6: Entertainment and Dining Options
Deck 6 on MSC Virtuosa is a vibrant hub for entertainment and dining, offering a wide range of options to suit every taste. The deck features specialty restaurants like Jean-Philippe Crêpes & Gelato, serving delicious French-inspired treats. Additionally, it is home to the Teatro del Mare, a grand theater hosting spectacular live shows and performances. Guests can also explore various bars and lounges, perfect for relaxing with a cocktail or enjoying live music. With its diverse offerings, Deck 6 ensures an unforgettable experience, blending culinary delights with world-class entertainment. Whether dining or being entertained, this deck is a central spot for creating memorable moments during your cruise.
2.3 Deck 7: Pool Areas and Recreation
Deck 7 of MSC Virtuosa is dedicated to outdoor relaxation and recreation, featuring stunning pool areas designed for all preferences. The Infinity Pool stands out with its infinity edge and breathtaking ocean views, while the Atmosphere Pool offers a lively atmosphere with live music and entertainment. Families will enjoy the Aquapark, equipped with thrilling water slides and a dedicated splash zone for kids. Additionally, the deck includes a solarium area for those seeking a quieter, sunbathing experience. Recreation options abound, with activities like yoga sessions, poolside games, and themed parties. Deck 7 is a central hub for outdoor enjoyment, ensuring a refreshing and fun experience for all guests, regardless of age or preference.
2.4 Deck 8: Spa, Wellness, and Fitness
Deck 8 of MSC Virtuosa is a haven for relaxation and wellness, featuring the luxurious MSC Aurea Spa. This expansive facility offers a wide range of treatments, including massages, facials, and body therapies. Guests can unwind in saunas, steam rooms, and thermal baths, while the adjacent relaxation area provides a peaceful retreat. The deck is also home to a state-of-the-art fitness center, equipped with modern exercise equipment and offering daily classes like yoga and Pilates. For outdoor enthusiasts, Deck 8 includes a jogging track and an infinity whirlpool overlooking the ocean. This deck seamlessly blends wellness, fitness, and relaxation, catering to every guest’s desire for rejuvenation and vitality during their cruise.
2.5 Deck 9: Luxury Suites and VIP Areas
Deck 9 of MSC Virtuosa is dedicated to luxury and exclusivity, featuring elegant suites and VIP areas designed for the ultimate cruising experience. The MSC Yacht Club, located on this deck, offers private access to a luxurious lounge, an exclusive pool, and a dedicated restaurant. Guests in the luxury suites enjoy expansive balconies, marble-lined bathrooms, and personalized concierge services. The deck also includes a private whirlpool with panoramic ocean views, ensuring a tranquil and indulgent retreat for VIP passengers. With its refined ambiance and premium amenities, Deck 9 epitomizes luxury cruising, providing an unparalleled level of comfort and exclusivity for discerning travelers.
Cabin Categories and Locations
MSC Virtuosa offers a diverse range of cabins, strategically located to ensure proximity to key amenities. From cozy interior rooms to spacious suites, each category is thoughtfully designed to meet every traveler’s needs.
3.1 Types of Cabins: Inside, Oceanview, and Balcony
MSC Virtuosa offers a variety of cabin options to suit every preference. Inside cabins provide a budget-friendly, comfortable stay with modern amenities. Oceanview cabins feature large windows offering stunning sea views and natural light. Balcony cabins are ideal for those seeking private outdoor spaces to enjoy the ocean breeze. Each category is well-appointed, ensuring a relaxing and memorable cruise experience.
3.2 Family-Friendly Cabins and Suites
MSC Virtuosa offers family-friendly cabins and suites designed for comfort and convenience. Spacious options include modular cabins that can accommodate families of up to six, with flexible layouts to meet diverse needs. These cabins feature amenities like extra storage, child-friendly entertainment, and proximity to family areas. Suites provide luxurious touches, such as private whirlpool baths and exclusive access to VIP areas. Families can enjoy a seamless cruise experience with these thoughtfully designed accommodations, ensuring everyone has a memorable and enjoyable journey.

Dining and Entertainment Options
MSC Virtuosa offers diverse dining options, including specialty restaurants like Jean-Philippe Crêpes & Gelato, and entertainment venues such as Le Grand Théâtre and Infinity Bar.
4.1 Main Dining Rooms and Specialty Restaurants
MSC Virtuosa boasts an array of dining options, including main dining rooms offering international cuisine and specialty restaurants like Jean-Philippe Crêpes & Gelato. Guests can enjoy à la carte menus, buffets, and themed dining experiences. The ship features diverse eateries, from casual to fine dining, catering to all tastes. Specialty venues provide unique culinary delights, while main dining areas ensure a traditional cruise experience with impeccable service. With numerous options across the decks, passengers can explore a world of flavors, making every meal a memorable experience during their voyage.
4.2 Bars, Lounges, and Nightlife
MSC Virtuosa offers a vibrant selection of bars, lounges, and nightlife options, perfect for every mood and preference. From the chic Infinity Bar to the lively Galleria Virtuosa, guests can enjoy craft cocktails, live music, and stunning views. The ship features a range of venues, including themed lounges and outdoor bars, where passengers can unwind or dance the night away. Whether it’s a relaxed evening with a drink or an energetic night of entertainment, MSC Virtuosa provides diverse settings to suit all tastes, ensuring unforgettable experiences under the stars or in stylish indoor spaces.
Onboard Amenities and Services
MSC Virtuosa offers MSC Excursions for planning shore activities, a Future Cruise Desk for booking next trips, and boutique shopping areas for leisure and retail therapy.
5.1 Shopping Areas and Boutiques
MSC Virtuosa boasts an array of shopping areas, including the elegant Galleria Virtuosa. Passengers can explore various boutiques offering luxury items, designer goods, and duty-free products. The shopping areas are strategically located on decks with high foot traffic, ensuring easy access for all guests. From fine jewelry to branded apparel, there’s something for every taste and preference. The boutiques provide a perfect opportunity to indulge in some retail therapy while enjoying the luxurious ambiance of the ship. This makes shopping on MSC Virtuosa a delightful and convenient experience for cruisers of all ages.
5.2 MSC Excursions and Future Cruise Desk
MSC Virtuosa features a dedicated MSC Excursions desk, where guests can plan and book shore excursions for their destinations. This service offers curated experiences tailored to various interests, ensuring memorable adventures ashore. Additionally, the Future Cruise Desk provides an opportunity for passengers to book their next MSC cruise while onboard. The desk offers exclusive deals, discounts, and early access to new itineraries, making it a convenient option for future travel planning. Located in a central area of the ship, these services are easily accessible, allowing guests to enhance their current voyage and plan future trips seamlessly.
MSC Virtuosa Deck Plan PDF: Tips for Downloading
Download the official MSC Virtuosa deck plan PDF from CruiseDeckplans.com or MSC Cruises’ website. Ensure the PDF is printable and valid for 2025-2027 sailings. Use the key provided for easy navigation and understanding of cabin locations, amenities, and ship layout.
6.1 Where to Find the Official PDF
The official MSC Virtuosa deck plan PDF can be downloaded from CruiseDeckplans.com or directly from the MSC Cruises website. Visit the “Deck Plans” section under the ship’s details or use the official CruiseMapper resource. Ensure the PDF is labeled as valid for 2025-2027 sailings to guarantee accuracy. CruiseDeckplans.com also offers interactive deck plans with pop-up images and detailed descriptions. Additionally, MSC Cruises provides printable versions of the deck plan, perfect for planning your cabin choice or exploring onboard amenities. Always verify the source for the most recent updates to ensure the information aligns with your travel dates.
6.2 How to Navigate the PDF Deck Plan
Navigating the MSC Virtuosa deck plan PDF is straightforward. Start by reviewing the key or legend, which explains symbols for cabins, restaurants, and amenities. Use the zoom feature to enlarge specific deck levels. Color-coded sections differentiate areas like cabins, entertainment venues, and dining spaces. Locate amenities such as pools, spas, and theaters by referring to their deck numbers. Use the PDF’s interactive features, such as pop-up descriptions, to explore details about cabin types or restaurant options. Plan your cabin choice by cross-referencing deck locations with cabin numbers. Always check the PDF’s date to ensure it reflects the most recent updates for your sailing year.