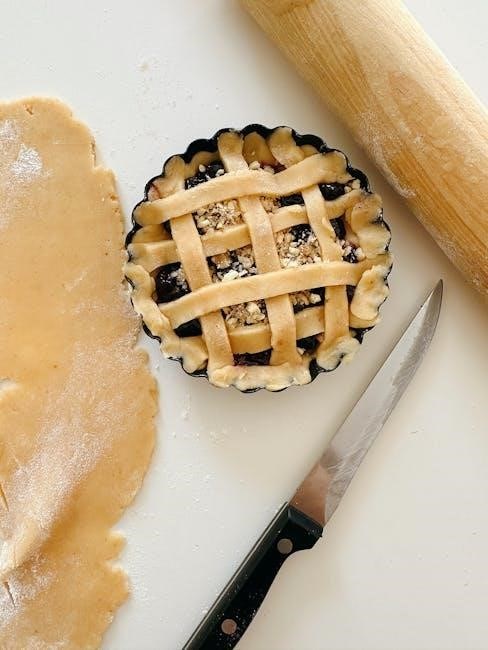
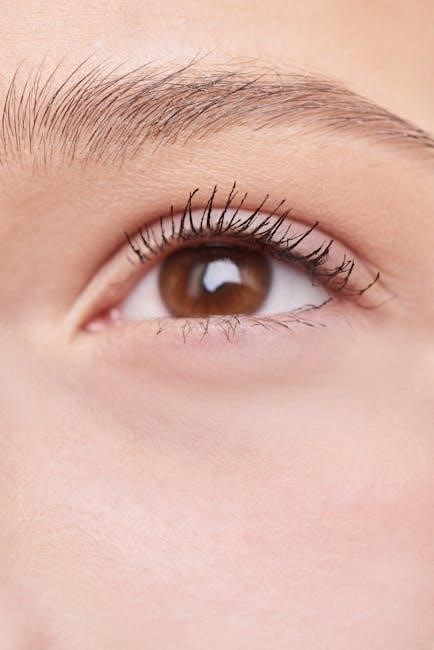
Maintaining the beauty and longevity of your eyelash extensions requires diligent aftercare, crucial for preventing premature shedding and ensuring optimal results.
Following these guidelines, provided by experts, will help you enjoy your fabulous lashes for weeks, maximizing your investment and minimizing potential issues.
Proper care involves avoiding moisture, steam, and oil-based products, alongside gentle cleansing and regular brushing – all vital components of a successful lash journey.
Why Aftercare is Crucial
Consistent aftercare isn’t merely recommended; it’s fundamentally essential for preserving the integrity and appearance of your newly applied eyelash extensions. The adhesive used to attach these extensions requires a specific environment to fully cure and bond effectively.
Premature exposure to water, steam, or oil-based products can disrupt this curing process, leading to extensions loosening and falling out significantly faster than expected. Avoiding these elements during the initial 24-48 hours is paramount, as highlighted by numerous lash technicians.
Furthermore, diligent cleansing removes debris and oils that can weaken the adhesive bond and contribute to irritation. Gentle brushing helps maintain the shape and prevents tangling, extending the life of your lashes. Ignoring these steps can result in a shorter retention period, requiring more frequent and costly fill appointments. Ultimately, aftercare is an investment in the lasting beauty and health of your lashes.
The First 24-48 Hours: Initial Stabilization
The initial 24 to 48 hours post-application are the most critical for allowing the lash adhesive to properly stabilize and achieve maximum hold. During this period, strict adherence to aftercare instructions is non-negotiable for optimal retention.
Complete avoidance of water exposure – including showers, saunas, steam rooms, and even excessive tears – is vital. Humidity should also be minimized, as it can interfere with the curing process. Experts emphasize that even a small amount of moisture can compromise the bond.
Protecting your lashes while you sleep is equally important. Avoid sleeping on your stomach or side, as this can cause friction and distortion. Consider using a lash-friendly sleep mask to shield your extensions from rubbing against your pillowcase. This initial stabilization phase sets the foundation for long-lasting, beautiful lashes.
Immediate Post-Appointment Care (0-24 Hours)
Immediately following your appointment, prioritize keeping your lashes completely dry and shielded from steam for a full 24 hours to ensure proper adhesion.
Avoiding Water Exposure
Water is the primary enemy of newly applied eyelash extensions during the critical first 24-48 hours. Exposure can disrupt the adhesive’s curing process, leading to premature lash shedding and a shortened lifespan for your beautiful new set.
This means diligently avoiding all forms of water contact. Steer clear of showering, bathing, swimming, washing your face (except with extreme caution around the eye area), and even crying! If you must wash your face, do so gently, focusing on areas away from your lash line.
Consider using a damp cloth to cleanse other facial areas during this initial stabilization period; Remember, the adhesive needs time to fully bond, and water interferes with this crucial process. Protecting your investment with careful water avoidance will significantly contribute to long-lasting, stunning lashes.
Be extra cautious and patient during this phase!
Steering Clear of Steam and Humidity
Similar to water, steam and high humidity pose a significant threat to the longevity of your eyelash extensions, particularly within the first 48 hours post-application. The moisture content in steam can weaken the adhesive bond, causing lashes to droop or fall out prematurely.
Therefore, it’s essential to avoid activities that generate steam, such as hot showers, steamy baths, saunas, steam rooms, and even cooking over a hot stove. These environments introduce moisture directly to the lashes, hindering the adhesive’s full curing process.
Humidity, even without direct steam, can also impact the adhesive. If you live in a humid climate, consider using a dehumidifier in your home to reduce moisture levels. Prioritizing a dry environment will help ensure your lashes remain perfectly intact and beautifully curled for an extended period.
Be mindful of your surroundings!
Protecting Lashes During Sleep
Your sleeping position significantly impacts the lifespan of your eyelash extensions; friction during sleep is a primary cause of premature lash loss. Avoiding direct contact between your lashes and your pillow is paramount for preservation.
Ideally, sleep on your back to minimize pressure and rubbing. If you’re a side or stomach sleeper, investing in a lash-friendly sleep mask is highly recommended. These masks create a barrier between your lashes and the pillowcase, preventing distortion and breakage.
Furthermore, consider using a silk or satin pillowcase, as these materials create less friction than cotton. Gentle care extends beyond waking hours! Consistent protection during sleep will dramatically contribute to maintaining the fullness and curl of your extensions, ensuring a longer-lasting, beautiful result.
Sweet dreams and beautiful lashes!

Daily Lash Maintenance
Consistent, gentle care is essential for maintaining lash health and maximizing longevity; cleansing, brushing, and mindful habits are key to beautiful, lasting results.
Daily routines protect your investment and keep your lashes looking flawless, ensuring a consistently stunning appearance.
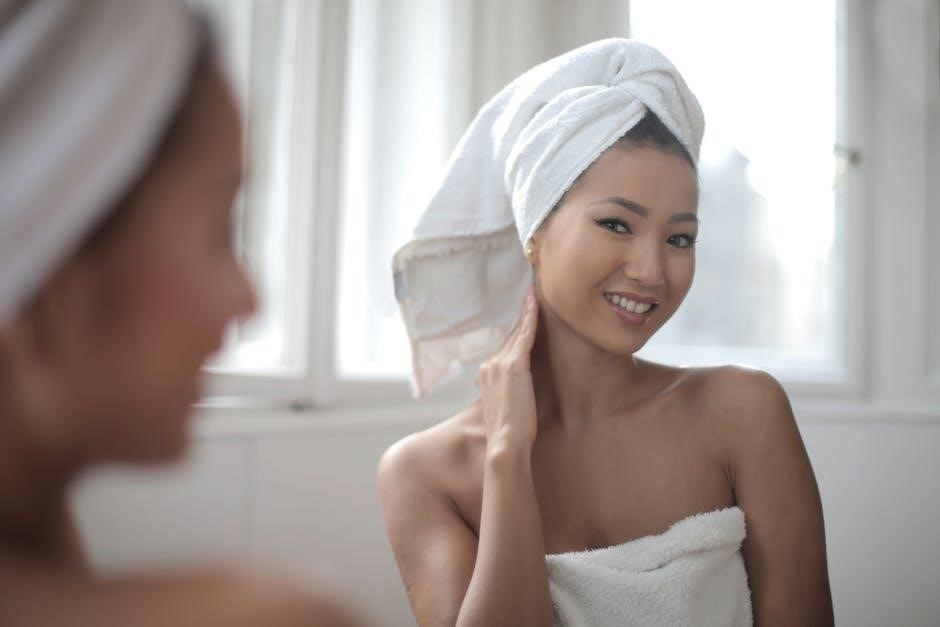
Gentle Cleansing Routine
Establishing a gentle cleansing routine is paramount for maintaining optimal lash health and preventing buildup that can lead to irritation or premature shedding. Daily cleansing removes oils, makeup residue, and debris that accumulate along the lash line, ensuring the adhesive remains strong and the lashes stay fluffy.
Use a lash-specific cleanser, formulated to be oil-free and pH balanced, as traditional cleansers can contain ingredients that break down the lash adhesive. Apply the cleanser with a soft brush, gently working it along the lash line and through the lashes.
Rinse thoroughly with water, ensuring all cleanser residue is removed. Pat the area dry with a lint-free cloth or allow to air dry. Avoid rubbing or tugging at the lashes during the cleansing process, as this can cause damage and accelerate shedding. A consistent, gentle approach will keep your lashes clean, healthy, and looking their best.
Using Lash-Specific Cleansers
Selecting and utilizing lash-specific cleansers is a cornerstone of effective aftercare, safeguarding the integrity of your extensions and promoting long-lasting results. Standard facial cleansers often contain oil-based ingredients that compromise the lash adhesive, leading to decreased retention and potential lash fallout.
Lash cleansers are specifically formulated to be oil-free and pH-balanced, ensuring they won’t disrupt the bond between the extensions and your natural lashes. Look for foaming cleansers designed for eyelash extensions, as these gently lift away debris without harsh chemicals.
Apply a small amount of cleanser to a clean, soft brush – a dedicated lash brush is ideal – and gently cleanse along the lash line, working outwards. Rinse thoroughly with lukewarm water and pat dry with a lint-free towel. Consistent use of a lash-specific cleanser is crucial for maintaining cleanliness and maximizing the lifespan of your beautiful lashes.
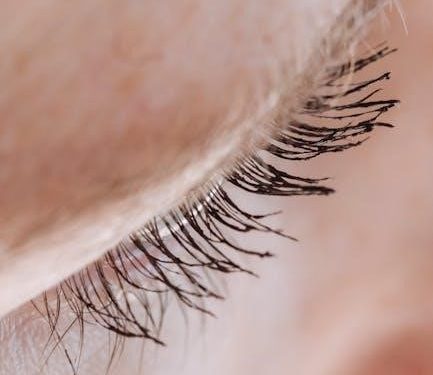
The Importance of Brushing
Regularly brushing your eyelash extensions is paramount for maintaining their appearance, preventing tangling, and extending their lifespan. Brushing gently separates the lashes, removing any debris or buildup that can weigh them down and contribute to premature shedding. It also helps to maintain the curl and overall fluffiness of your lash set.
Without regular brushing, lashes can become intertwined, leading to a messy appearance and potential damage. Think of it like brushing your hair – it keeps it neat, tidy, and healthy! Use a clean, dedicated spoolie brush (similar to a mascara wand) to gently brush through your lashes daily.
Brushing ensures optimal hygiene and prevents the build-up of natural oils and makeup residue, contributing to better adhesion and a longer-lasting, more beautiful lash look.
Brushing Technique and Frequency
To effectively brush your eyelash extensions, begin with a clean, dry spoolie brush. Gently brush upwards and outwards, starting from the base of the lashes and moving towards the tips. Avoid harsh or aggressive brushing, as this can cause damage or pull out extensions.
Focus on separating any lashes that have become tangled or crossed over each other. A gentle, sweeping motion is key. It’s recommended to brush your lashes daily, ideally in the morning and before bed, to maintain their shape and cleanliness.
Consistent brushing prevents tangling and keeps your lashes looking full and fluffy. Remember to always brush in the direction of lash growth, and never brush side to side. This simple routine significantly contributes to the longevity and health of your extensions!
Products to Avoid
Certain products can compromise your lash extensions; oil-based formulas, mascaras, and harsh eye makeup are detrimental to adhesive bonds and longevity.
Steering clear of these will preserve your beautiful lashes, ensuring they remain full, fluttery, and fabulous for an extended period.
Oil-Based Products and Their Impact
Oil is the absolute enemy of eyelash extension adhesive. Even seemingly harmless products can significantly shorten the lifespan of your lashes, leading to faster shedding and a less-than-perfect look.
The oils disrupt the bond between the extension and your natural lash, causing the extension to loosen and eventually fall out prematurely. This includes makeup removers, cleansers, serums, and even some skincare products.
Specifically, avoid products containing ingredients like mineral oil, coconut oil, almond oil, or any other lipid-rich components. Carefully scrutinize ingredient lists! Many seemingly “gentle” products contain hidden oils.
Opt for oil-free alternatives specifically designed for use with lash extensions. These are formulated to cleanse and nourish without compromising the adhesive. Remember, consistent avoidance of oil-based products is key to maximizing the retention and overall health of your lashes.
Prioritizing oil-free options will protect your investment and keep your lashes looking stunning for longer.
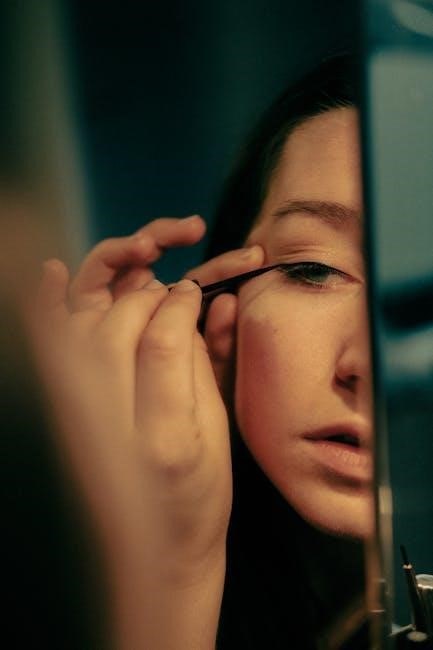
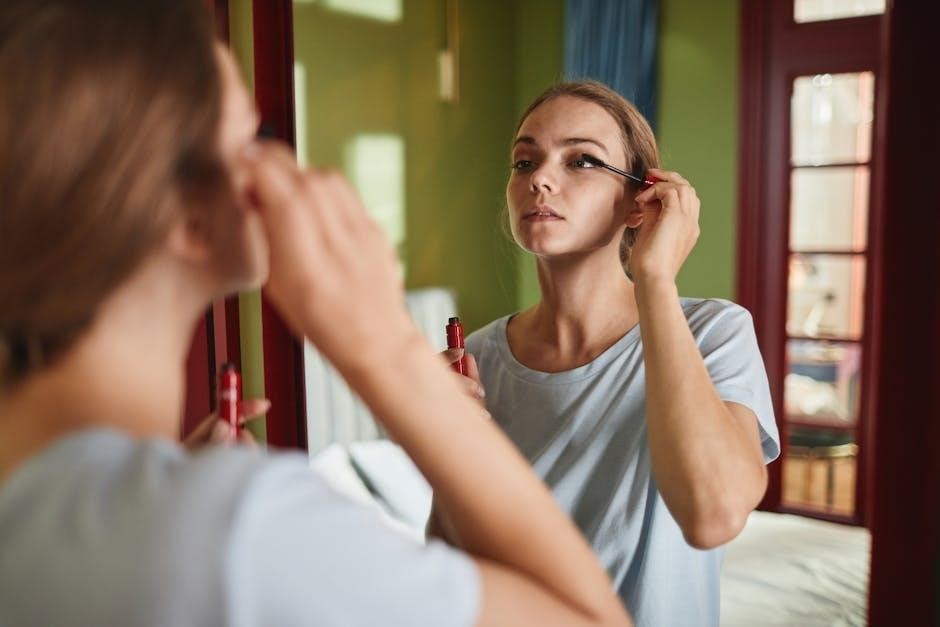
Mascaras and Their Alternatives
Traditional mascara is generally discouraged when wearing eyelash extensions, as its formulation can break down the adhesive and cause premature lash loss. The ingredients, combined with the brushing motion, can be detrimental to extension retention.
However, if you absolutely desire to enhance your lashes further, explore mascara specifically formulated for lash extensions. These specialized mascaras are typically water-based and free of oils, waxes, and harsh chemicals that can compromise the bond.
Alternatively, consider using a lash tint to darken your natural lashes and extensions, providing a more subtle enhancement without the risks associated with mascara. Another option is a lash-safe coating sealant, which can add definition and protect the extensions.
Always apply any lash-safe product with a gentle hand, focusing on the tips and avoiding vigorous rubbing or pulling. Prioritize extension health over heavy mascara application for lasting results.
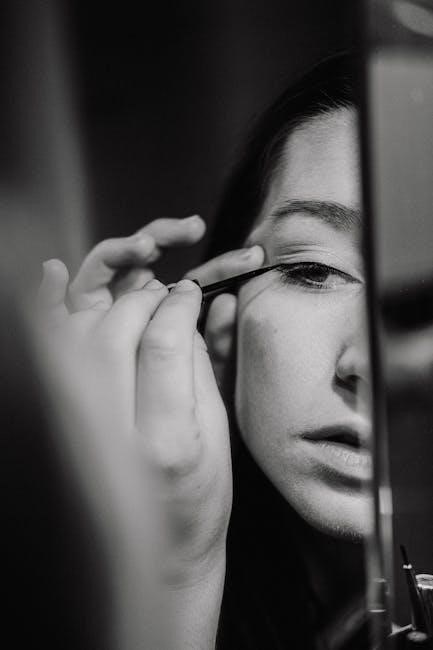
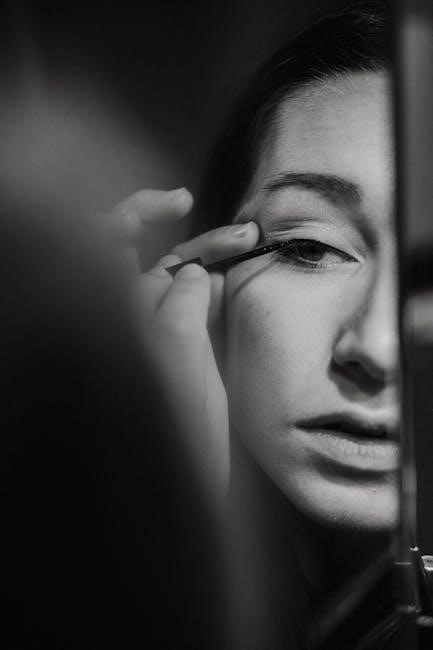
Eye Makeup Considerations
While enjoying your new lash extensions, mindful makeup application is key to preserving their longevity and your eye health. Avoid oil-based eye makeup products, including eyeliners, eyeshadows, and concealers, as oil directly weakens the adhesive bond.
Opt for water-based or powder-based alternatives instead. When applying eyeshadow, gently pat the product onto the lid rather than sweeping, minimizing friction against the lashes. Liquid or gel eyeliners are preferable to pencil liners, which can leave residue.
Always remove eye makeup carefully with a lash-safe cleanser, avoiding harsh rubbing or pulling. Use a makeup remover formulated without oil and a soft, lint-free applicator.
Prioritize gentle removal techniques to prevent damage to the extensions and irritation to the delicate eye area. Remember, a little extra care during makeup application and removal goes a long way!
Lifestyle Adjustments for Lash Longevity
To maximize lash retention, modify daily routines by limiting exposure to excessive heat, sweat, and direct sunlight, protecting your investment.
Adjustments include mindful exercise, avoiding saunas, and utilizing sun protection, all contributing to lasting, beautiful lashes.
Exercise and Sweat Management
Maintaining your lash extensions while staying active requires a bit of planning and precaution, as sweat can compromise the adhesive bond. Intense physical activity, while beneficial for overall health, introduces moisture and salt, potentially leading to premature lash shedding.
Before exercising, consider gently cleansing your lashes with a lash-specific cleanser to remove any existing oils or debris. During your workout, try to minimize direct sweat exposure to your eyes; a headband can be incredibly helpful in absorbing perspiration.
Immediately following exercise, gently pat your lash line dry with a clean, lint-free cloth. Avoid rubbing or pulling at the lashes. If you sweat profusely, a quick, gentle cleanse is recommended to remove salt buildup. Remember, consistent, careful management of sweat exposure is key to extending the life of your beautiful lash extensions.
Prioritizing these steps will help you enjoy both your fitness routine and your stunning lashes!
Saunas, Steam Rooms, and Hot Tubs
Exposure to extreme heat and humidity, such as found in saunas, steam rooms, and hot tubs, poses a significant risk to the longevity of your eyelash extensions. The high temperatures and moisture levels can weaken the adhesive bond, leading to premature lash shedding and a shortened lifespan for your set.
It is strongly advised to avoid these environments altogether for at least the first 48-72 hours post-application, and ideally for the duration of your extensions’ wear. The intense steam and heat cause the adhesive to break down, negating the careful application process.
If you do choose to indulge, minimize your time and keep your face lifted to reduce direct exposure. Following exposure, gently pat your lashes dry and brush them with a clean spoolie. Prioritizing avoidance is the best strategy for maintaining a full, fabulous lash look!
Remember, prevention is key to enjoying long-lasting results.
Sun Protection for Lashes
While often overlooked, sun exposure can indeed impact the health and longevity of your eyelash extensions. Prolonged exposure to ultraviolet (UV) rays can degrade the adhesive used to apply the lashes, causing them to become brittle and lose their curl, ultimately leading to premature shedding.
Just as you protect the skin on your face with sunscreen, consider protecting your lashes when spending extended periods outdoors. Wearing sunglasses with full UV protection is a simple yet effective way to shield your lashes from direct sunlight.
Additionally, a hat with a brim can provide extra shade. While lash extensions don’t require specific lash sunscreen, minimizing UV exposure is crucial. Remember, consistent sun protection contributes to maintaining the integrity and appearance of your beautiful lash extensions!
Protecting your investment ensures lasting beauty and confidence.
Troubleshooting Common Issues
Addressing concerns like shedding, irritation, or a fallen lash promptly is key; gentle handling and contacting your lash technician are essential for resolution.
Don’t pull or tug – seek professional advice for optimal lash health and continued beauty.
Dealing with Lash Shedding
Lash shedding is a completely normal part of the lash cycle, as extensions are applied to your natural lashes which naturally fall out over time. Expect to lose 2-5 lashes per day, similar to natural lash shedding.
Resist the urge to pull or pick at loose lashes, as this can damage your natural lashes and potentially lead to gaps. Gently brush the area with a clean spoolie to help dislodge any loose extensions.
If you notice excessive shedding, or a significant number of lashes falling out at once, it could indicate an issue with the application, adhesive, or aftercare. Contact your lash technician immediately to discuss the problem and schedule an appointment for assessment.
Maintaining consistent aftercare, avoiding oil-based products, and gentle handling are crucial for minimizing shedding and maximizing the lifespan of your lash extensions.
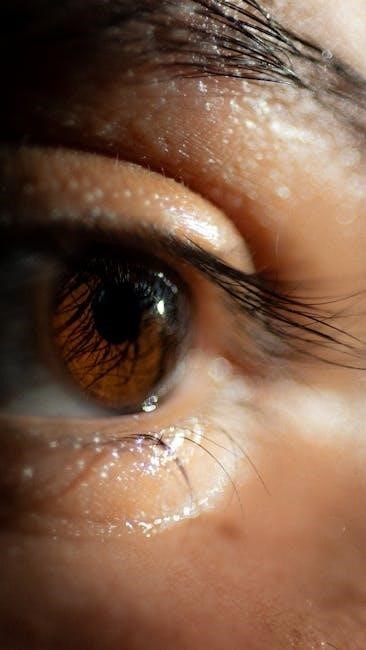
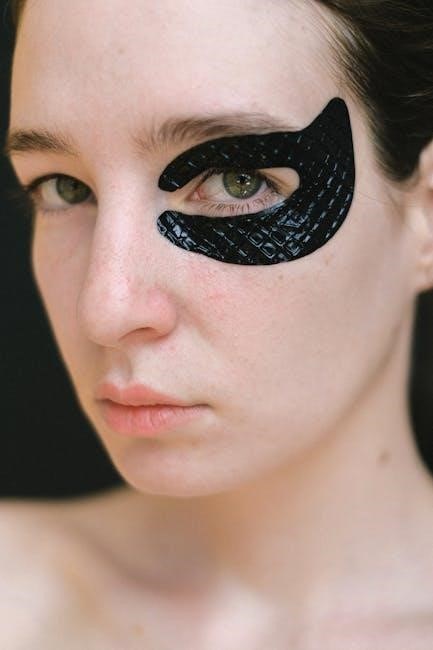
Addressing Irritation or Allergic Reactions
While rare, allergic reactions to lash adhesive can occur. Symptoms may include redness, swelling, itching, or discomfort around the eyes. Mild irritation can sometimes be caused by sensitivity to the cleanser or aftercare products used.
If you experience any of these symptoms, immediately remove the extensions and discontinue use of all related products. A cool compress can help soothe irritation and reduce swelling. Avoid rubbing your eyes, which can worsen the condition.
Consult a medical professional if symptoms persist or are severe. They can prescribe antihistamines or other medications to alleviate the reaction. Always inform your lash technician of any known allergies before your appointment.
Patch tests can be performed prior to a full application to assess sensitivity. Prioritizing hygiene and using high-quality products minimizes the risk of irritation and allergic responses.
What to Do If a Lash Falls Out
It’s perfectly normal for a few lash extensions to shed with your natural lash cycle. Don’t panic if you notice a lash or two falling out – this is a natural part of the process. Never attempt to pull or remove extensions yourself, as this can damage your natural lashes.
Contact your lash technician to schedule a fill appointment when you notice significant shedding, typically within 2-3 weeks. They can safely replace the fallen extensions and maintain a full, balanced look. Avoid excessive rubbing or tugging at the remaining lashes.
Gentle care and adherence to aftercare instructions will minimize premature shedding. Remember, proper cleansing and brushing contribute to lash retention. Ignoring a falling lash can lead to discomfort, so address it promptly with professional assistance.
Long-Term Lash Health
Consistent lash fills every two to three weeks are essential for maintaining fullness and preventing damage to your natural lashes, ensuring lasting beauty.
Seeking professional advice from your lash technician will help you tailor a care routine for optimal long-term lash health and vibrancy.
Regular Lash Fills
As your natural lashes grow and shed, so too will your extensions; regular lash fills are therefore absolutely vital for maintaining a consistently full and beautiful look. Typically, scheduling fills every two to three weeks is recommended, though this can vary depending on your natural lash cycle and how well you adhere to aftercare instructions.
During a fill appointment, your technician will replace any lashes that have fallen out and add new extensions to maintain the desired volume and shape. Neglecting fills can lead to sparse lashes and potentially damage your natural lashes as they are left unsupported. Consistent fills also allow your technician to monitor the health of your natural lashes and adjust the extension weight or application technique if needed.
Think of lash fills as preventative maintenance – a small investment that protects your overall lash health and ensures you always look and feel your best!
Professional Lash Care Advice
Seeking guidance from a qualified lash technician is paramount for optimal lash health and longevity; they are your best resource for personalized aftercare advice. Don’t hesitate to ask questions during your appointment or schedule a consultation to address any concerns you may have.
A skilled technician can assess your natural lash condition, recommend appropriate extension weights and lengths, and provide tailored aftercare instructions based on your lifestyle and lash type. They can also identify potential issues early on, such as allergic reactions or improper extension placement.
Furthermore, a professional can advise on the best cleansing techniques and products for your specific lashes, ensuring you maintain a hygienic and healthy environment. Remember, consistent professional care complements your at-home routine, maximizing the lifespan and beauty of your lash extensions.
Sleeping Positions and Lash Preservation
Your sleep position significantly impacts the lifespan of your eyelash extensions; avoiding direct pressure on your lashes is crucial for preventing bending, breakage, and premature shedding. Experts strongly recommend sleeping on your back as the ideal position to minimize disturbance.
If back sleeping isn’t comfortable, consider investing in a lash-friendly sleep mask made of silk or satin. These materials create a smooth surface, reducing friction and preventing lashes from getting crushed against your pillow. Avoid cotton pillowcases, as their texture can cause tangling and damage.
Furthermore, gently brushing your lashes before bed helps maintain their shape and prevents them from becoming twisted during sleep. Prioritizing a sleep position that protects your extensions will dramatically extend their fullness and beauty, ensuring you wake up with consistently stunning lashes.