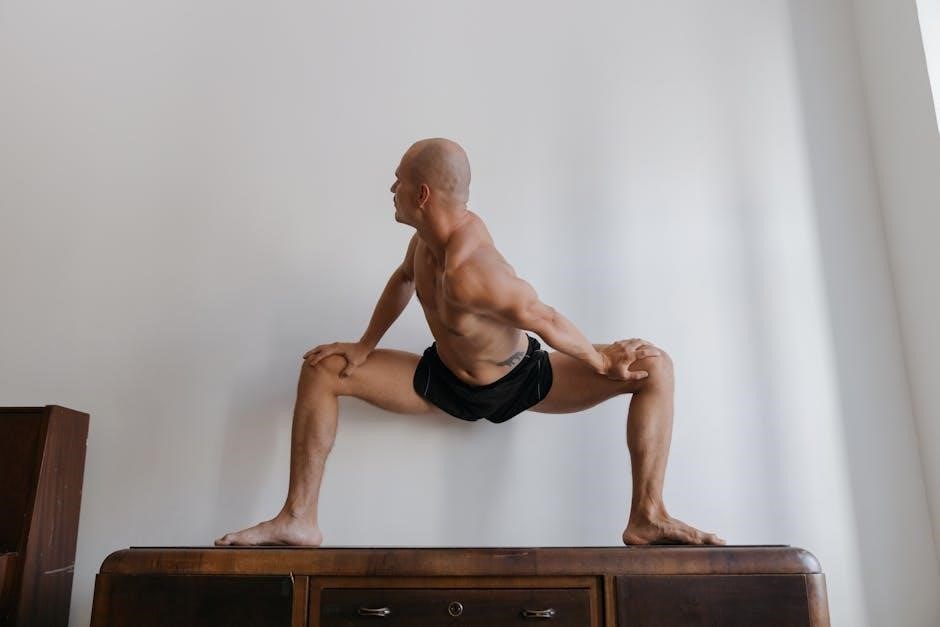
Shoulder bursitis, often caused by repetitive movements or poor posture, leads to pain and limited mobility. It involves inflammation of the bursae, small fluid-filled sacs cushioning shoulder joints and muscles; Early symptoms include swelling, tenderness, and stiffness; Exercises, particularly scapular and strengthening routines, play a crucial role in rehabilitation, improving flexibility and reducing discomfort. A structured program, including stretches and resistance training, helps restore function and prevent recurrence.
Understanding Shoulder Bursitis and Its Symptoms
Shoulder bursitis is an inflammatory condition affecting the bursae, fluid-filled sacs that cushion the shoulder joint and surrounding muscles. It often results from repetitive overhead movements, poor posture, or muscle weakness. Common symptoms include localized pain, swelling, and limited mobility. Patients may experience tenderness when pressing on the affected area or pain when moving the arm overhead. Stiffness and reduced range of motion are also frequent complaints. In severe cases, it can interfere with daily activities like reaching or sleeping; Early recognition of these symptoms is crucial for effective management and preventing chronic issues. Addressing the root cause is key to recovery.
Role of Exercises in Managing Shoulder Bursitis
Exercises play a vital role in managing shoulder bursitis by strengthening muscles, improving flexibility, and reducing pain. They restore joint stability and prevent further injury from repetitive movements.
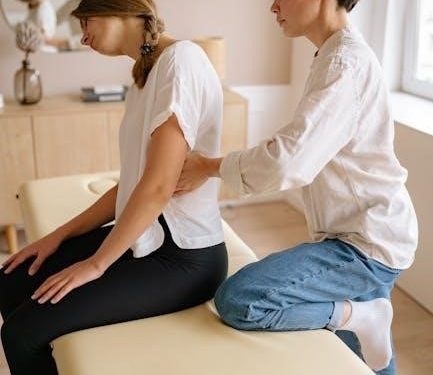
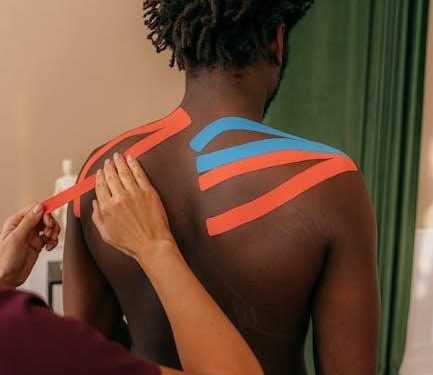
Importance of Physical Therapy for Recovery
Physical therapy is essential for recovery from shoulder bursitis, addressing the root causes of pain and limited mobility. It improves joint mobility, strengthens surrounding muscles, and enhances flexibility. A structured program, including scapular exercises like shrugs and wall slides, helps restore proper shoulder mechanics. Guided by a physical therapist, patients learn how to perform exercises safely and effectively, avoiding further injury. Therapy also focuses on improving posture and reducing repetitive strain, which are common contributors to bursitis. By following a tailored program, individuals can achieve long-term relief and regain functional movement in their shoulders.

Scapular Exercises for Shoulder Bursitis
Scapular exercises are vital for addressing shoulder bursitis, enhancing stability and reducing inflammation. They include shrugs, wall slides, and squeezes, improving posture and joint function.
Scapular Shrugs and Wall Slides
Scapular shrugs and wall slides are essential exercises for managing shoulder bursitis. To perform a shrug, stand tall and raise your shoulders toward your ears, holding for 5 seconds before releasing. For wall slides, stand with your back against a wall and your arms extended overhead. Slowly slide your arms down the wall, squeezing your shoulder blades together as you lower. Both exercises help improve posture and shoulder stability, reducing bursitis symptoms. Perform 3 sets of 10 repetitions daily, as part of a 4-6 week rehabilitation program. These exercises are gentle on the joints and can be done at home, making them ideal for daily routines.
Scapular Squeezes and Spine Stability
Scapular squeezes and spine stability exercises are vital for addressing shoulder bursitis. Sit or stand with arms at your sides, squeezing your shoulder blades together for 5 seconds. Repeat 10 times. This strengthens the muscles between your shoulder blades, improving posture. For spine stability, perform exercises like planks or bird-dog stretches to enhance core strength, which supports shoulder function. These exercises reduce strain on the shoulder joint and promote proper alignment. Incorporate 3 sets daily into your routine, ensuring smooth, controlled movements. Avoid arching your back or using jerky motions, as this can exacerbate discomfort. Proper form is key to maximizing benefits and preventing further injury.

Strengthening Shoulder Muscles
Strengthening shoulder muscles is essential for stabilizing the joint and relieving bursitis pain. Focus on exercises like internal and external rotations, using resistance bands or light weights. Gentle, controlled movements help build strength without overexertion, promoting long-term recovery and reducing inflammation.
Internal and External Rotation Exercises
Internal and external rotation exercises are crucial for strengthening the shoulder’s rotator cuff muscles, which are vital for stability and mobility. Using a resistance band or light dumbbells, perform these exercises with controlled movements. For internal rotation, hold the band or weight and pull it toward your stomach, keeping your elbow close to your body. For external rotation, pull the band outward, maintaining a 90-degree angle. Each exercise should be done for 3 sets of 10-15 repetitions, ensuring smooth, jerk-free motions to avoid aggravating the bursa. These exercises help improve joint stability and reduce inflammation associated with bursitis.
Abduction and Extension Exercises
Abduction and extension exercises target the shoulder muscles, enhancing range of motion and strength. For shoulder abduction, lift your arm out to the side until it’s at shoulder height, then slowly lower it. Extension involves gently lifting your arm backward while keeping it straight. Both exercises can be performed with or without light weights or resistance bands. These movements help reduce stiffness and improve flexibility, making daily activities easier. Consistency in performing these exercises aids in strengthening the muscles around the shoulder joint, which is essential for managing bursitis and preventing future flare-ups. Smooth, controlled movements are key to avoiding further inflammation.
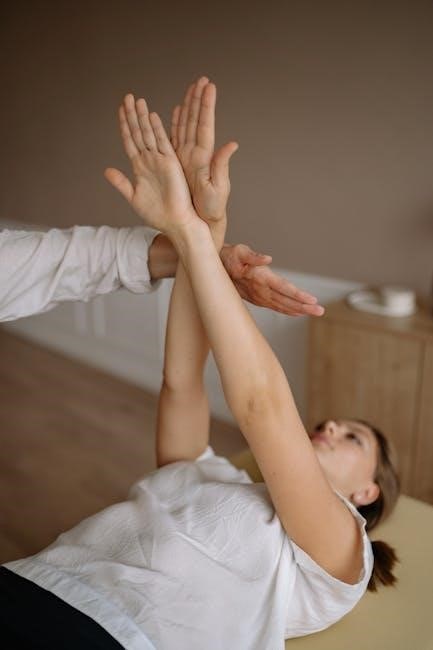
Stretching Exercises for Flexibility
Stretching exercises improve flexibility and reduce stiffness in shoulder bursitis. Techniques like the cross-body stretch and chest stretch target tight muscles, promoting healing and mobility. Gentle movements are essential.
Cross-Body Stretch and Chest Stretch
The cross-body stretch targets the shoulder and upper back muscles. Stand or sit, and gently pull the affected arm across your chest toward the opposite shoulder. Hold for 20-30 seconds. The chest stretch focuses on opening the chest and improving shoulder flexibility. Place your hands on a wall or door frame and lean forward, stretching the chest and front shoulder muscles. Both stretches should be done 2-3 times daily, holding each for 20-30 seconds. These exercises help reduce stiffness and improve range of motion, essential for managing shoulder bursitis symptoms effectively.
When to Begin Exercises
Exercises should begin once shoulder pain subsides, typically under the guidance of a healthcare provider. Gentle movements are recommended to avoid aggravating the bursitis further.
Starting Post-Pain Subsidence and Consultation
Exercises for shoulder bursitis should only begin once pain has significantly subsided, typically after consulting a healthcare provider or physical therapist. Starting too early can exacerbate inflammation and prolong recovery. Gentle stretches and scapular movements are often recommended initially to restore mobility without strain. It’s crucial to avoid overexertion and follow a structured program tailored to individual needs. Professional guidance ensures exercises are performed safely and effectively, reducing the risk of further injury. Patience and consistency are key, as recovery progresses gradually over weeks.
Duration and Progression
A typical shoulder bursitis exercise program lasts 4-6 weeks, gradually increasing intensity. Consistency is key, with exercises progressing from gentle stretches to strengthening movements. Avoid overexertion to prevent setbacks.
4-6 Week Program and Avoiding Overexertion
A structured 4-6 week exercise program is essential for effective shoulder bursitis recovery. Begin with gentle exercises like scapular shrugs and wall slides, progressing to strengthening routines. Avoid overexertion by performing smooth, controlled movements without jerking. Gradually increase resistance or repetitions as pain subsides. Rest days are crucial to allow tissues to heal. Monitor pain levels; if exercises cause sharp pain, stop and consult a therapist. Consistency is key, but pushing too hard can lead to setbacks. Aim for 2-3 exercise sessions per week, ensuring proper form and avoiding aggravation of symptoms.
Additional Resources
Downloadable PDF guides and video demonstrations provide detailed instructions and visual aids for performing exercises correctly. These resources are accessible online, offering step-by-step guidance to support recovery.
PDF Guides and Video Demonstrations
Comprehensive PDF guides and video tutorials are excellent resources for understanding and performing shoulder bursitis exercises. These materials, often created by physiotherapists, detail proper techniques, progression, and safety tips. Videos demonstrate exercises like scapular shrugs, wall slides, and internal rotations, ensuring correct form and minimizing injury risk. PDFs include images, instructions, and routines tailored for home use. Many guides are available online, such as those from the UK’s leading shoulder specialists, offering structured 4-6 week programs. Platforms like YouTube and official health websites provide accessible content. These resources empower individuals to follow a clear, guided plan, enhancing recovery and maintaining shoulder health effectively.